Authoring
Save the scene, export to the game
To save your ship all you need to do is save your Unity scene. If you’re uploading to the workshop then keep this scene safe as it contains your ships workshop ID which is required to upload the ship to the same workshop page later in the future.
To export your ship open the ship inspector and click the green Export Ship button and save the file to your MyShips folder (%INSTALL PATH%/UserData/MyShips). Create sub-folders in your MyShips foldler if you want to categorize your ships on the menu.
Upload To Steam Workshop
Note
To upload your ship to the Steam workshop first make sure you have opened Unity after launching Steam.
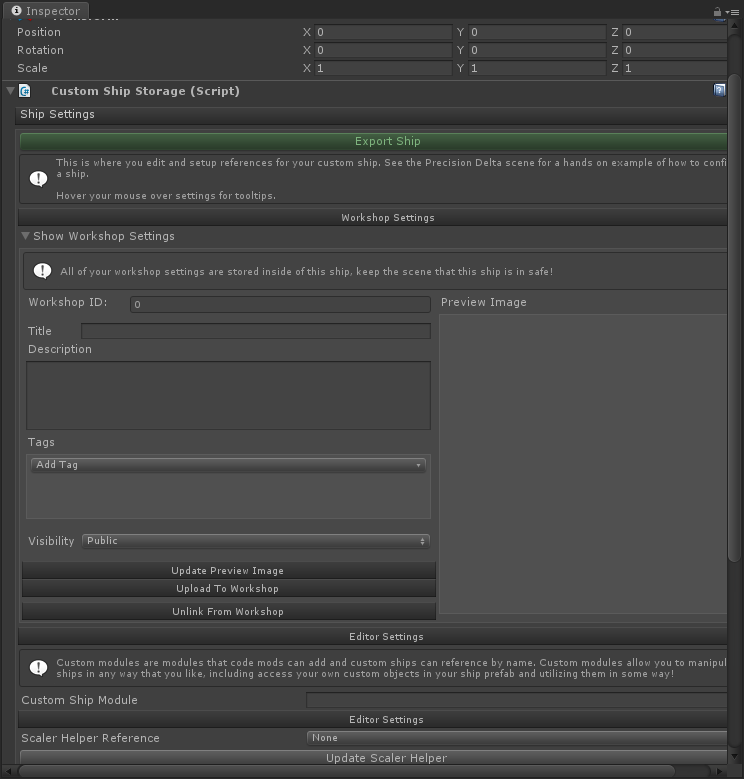
Open the ship inspector and expand the Show Workshop Settings foldout. In here you need to enter your title, description, add tags, set a visibility type and add a preview image. Preview images can only be a JPG and are not allowed to be any larger then 1mb.
After you have setup your workshop details save your scene and then click the Upload To Workshop button. Once the upload has completed it’s very important to save the scene again to store your workshop ID.
When uploading you can view the progress in the same area where you setup your workshop details, while uploading you will see a progress description and percentage value instead of the settings. Steam does not return the upload progress so it’s not possible to provide an accurate upload progress bar, you will need to wait.